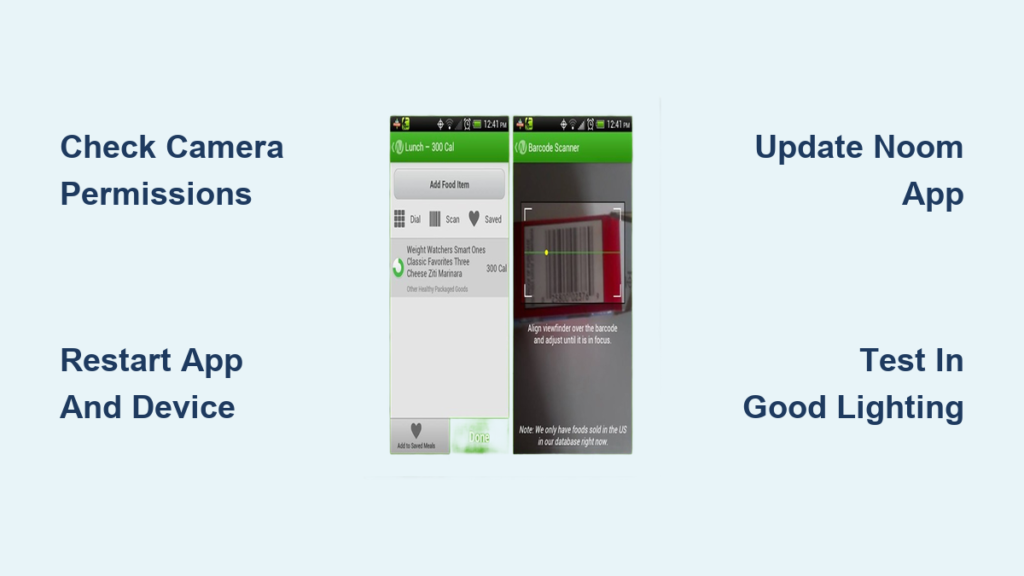
If your Noom barcode scanner isn’t working, you’re not alone. Many users report that the Noom barcode scanner fails to detect or recognize product barcodes, disrupting their daily food logging routine. This issue forces users to manually search for foods, which is slower, less accurate, and frustrating when trying to stay consistent with health goals.
The problem typically appears after an app update, device restart, or operating system upgrade. Some users note the scanner interface looks different or unresponsive, while others say the camera opens but won’t lock onto barcodes. Even perfectly printed, high-contrast UPCs may go undetected.
In this guide, you’ll learn proven troubleshooting steps to fix the Noom barcode scanner fast. We’ll cover permission checks, app resets, device-specific fixes, and workarounds when scanning remains unreliable. You’ll also discover why this happens and how to prevent future glitches so you can get back to effortless food tracking.
Check Camera Permissions First
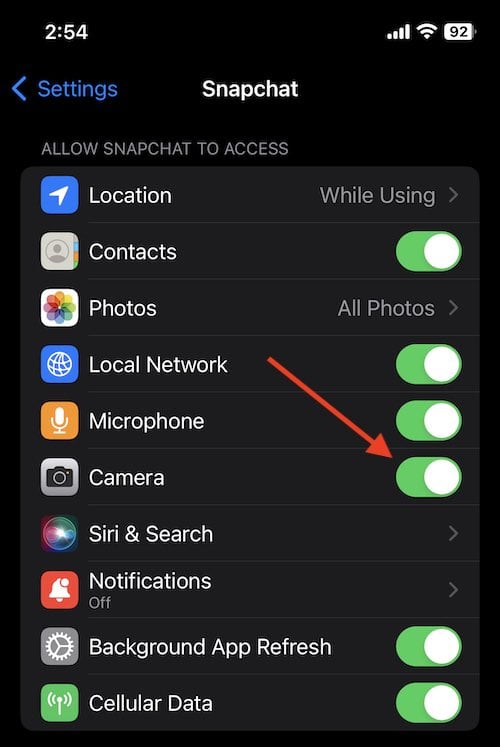
Noom needs camera access to scan barcodes. If permissions are blocked, even accidentally, the scanner won’t work.
Fix Camera Access on iPhone
- Open Settings.
- Scroll down and tap Privacy > Camera.
- Find Noom in the list.
- Toggle it ON if disabled.
Tip: If Noom isn’t listed, reinstall the app to trigger a new permission prompt.
Fix Camera Access on Android
- Go to Settings > Apps > Noom.
- Tap Permissions > Camera.
- Select Allow (not “Only while using” or “Deny”).
After enabling, restart Noom and test the scanner immediately.
Restart the App and Device
A quick reboot resolves temporary software hiccups affecting camera functionality.
Force-Close and Relaunch Noom
• iPhone: Swipe up from the bottom (or double-click Home button), find Noom, and swipe it away. Reopen from home screen.
• Android: Go to Recent Apps, swipe Noom away, then relaunch.
Reboot Your Phone
Sometimes deeper system processes lock up the camera:
- Power off your device completely.
- Wait 10 seconds.
- Turn it back on.
- Open Noom and try scanning again.
This simple step fixes many “no response” scanner issues.
Update the Noom App
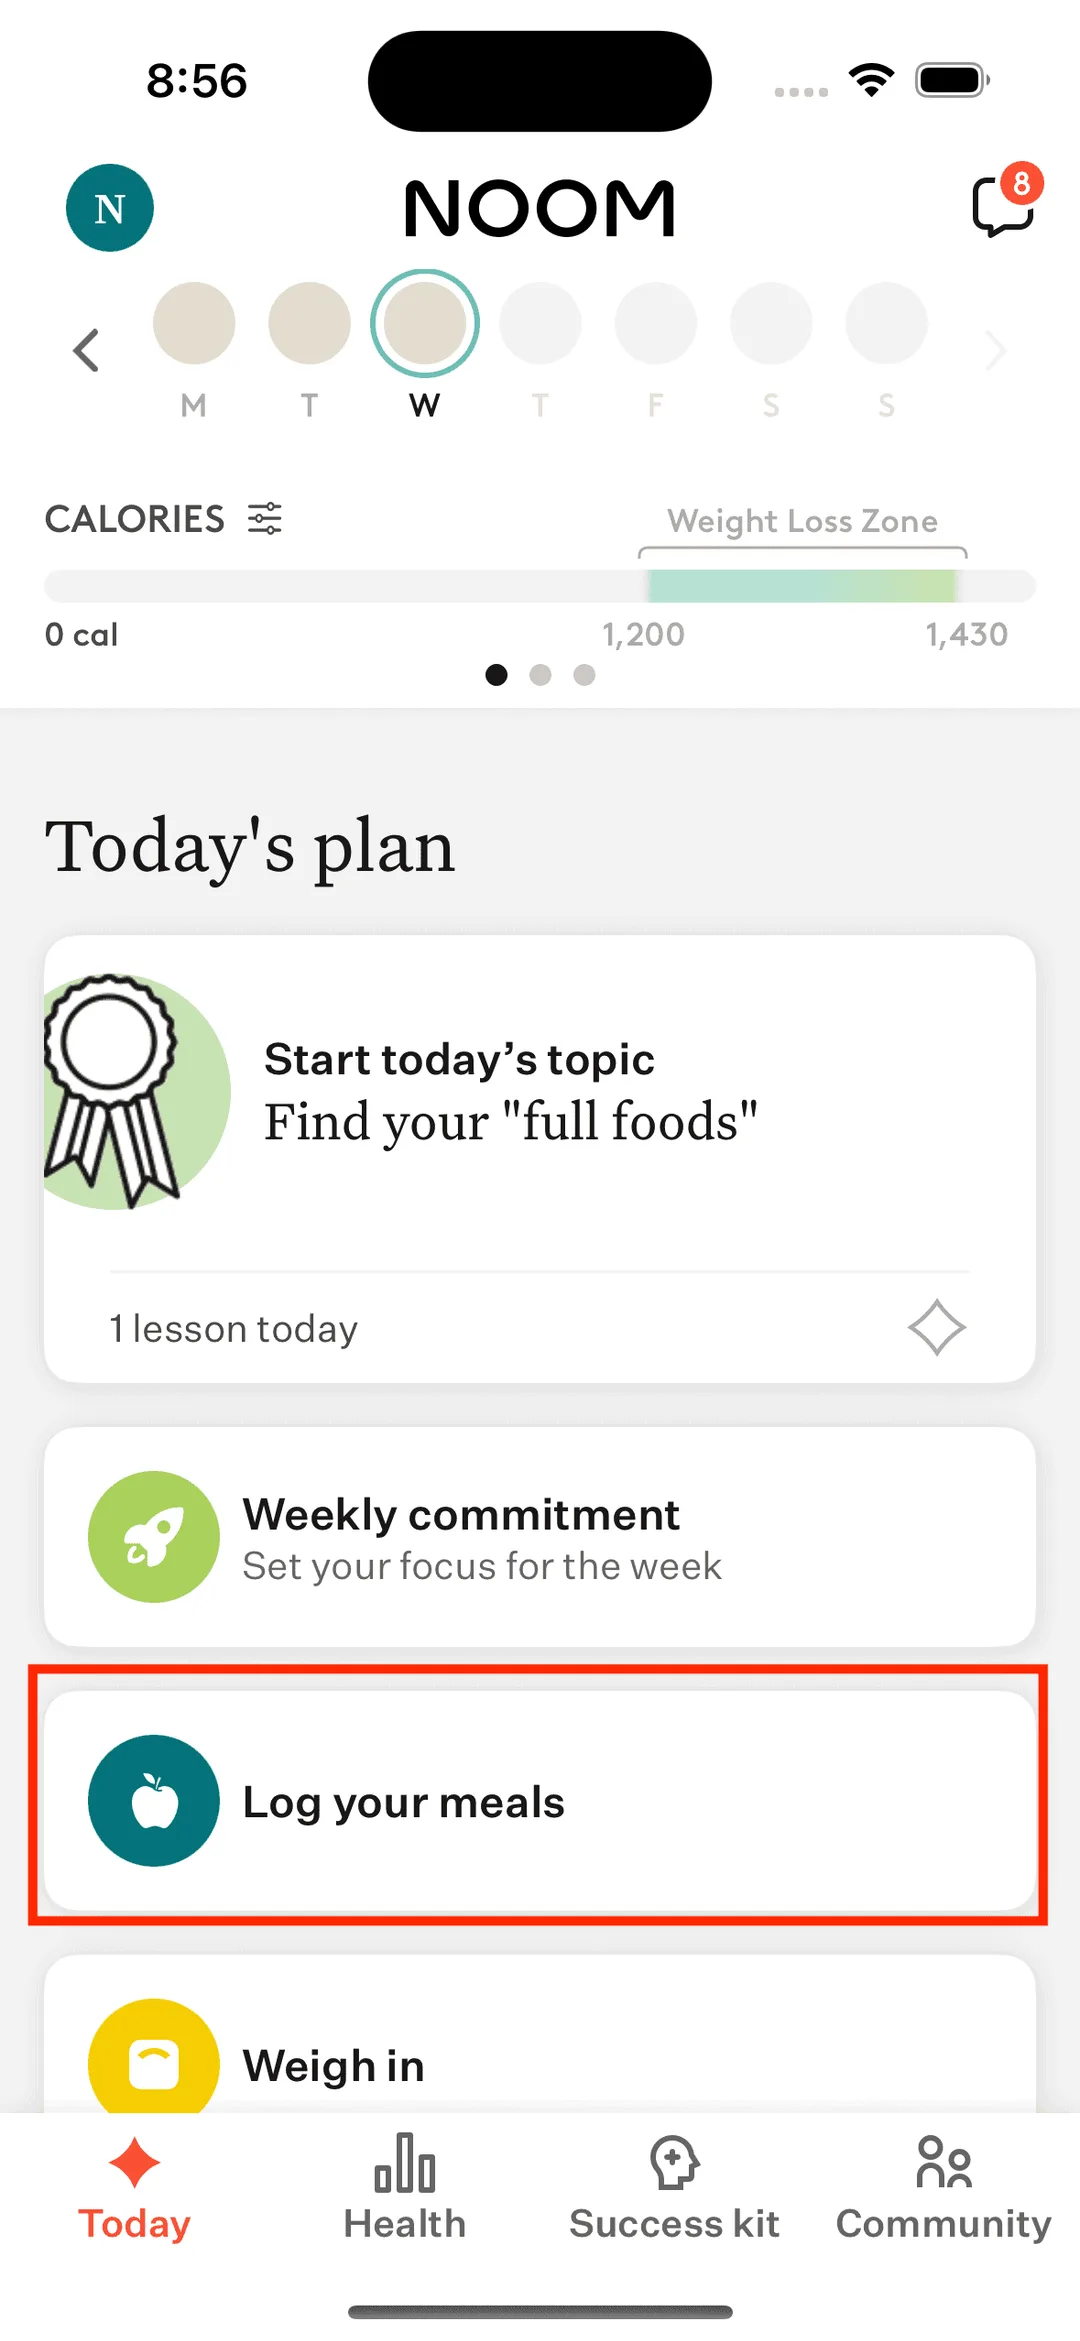
Outdated versions often have bugs that break barcode scanning, especially after OS updates.
How to Update Noom
• iOS: Open App Store > Tap your profile > Scroll to Noom > Tap Update.
• Android: Open Google Play Store > Tap Menu > My apps and games > Find Noom > Tap Update.
Why it helps: New releases patch known scanner bugs, improve camera focus, and sync with Noom’s food database.
After updating, open Noom and test the scanner with a clear, well-lit barcode.
Clear App Cache (Android Only)
Corrupted cache files can interfere with camera integration.
Steps to Clear Cache
- Go to Settings > Apps > Noom.
- Tap Storage.
- Select Clear Cache (do not tap “Clear Data” this deletes your progress).
Now reopen Noom and try scanning.
Warning: Clearing app data logs you out and may erase unsynced entries. Only use “Clear Cache.”
Reinstall Noom as a Last Resort
If the scanner still won’t work, a fresh install often fixes deep glitches.
How to Reinstall Noom
- Uninstall Noom from your phone.
- Restart your device.
- Reinstall Noom from the App Store (iOS) or Google Play (Android).
- Log in and test the scanner right away.
Pro tip: Wait until the app fully loads before opening the scanner. Let it sync first.
This resets all app components, including camera permissions and internal settings, and is one of the most effective fixes.
Fix Poor Scanning Conditions

Even a perfectly working app can fail if lighting or barcode quality is poor.
Optimize Your Scan Environment
• Use bright, natural light. Avoid shadows or dim rooms.
• Hold phone 2 to 6 inches from the barcode.
• Keep hands steady for 3 to 5 seconds.
• Avoid plastic wrap, glass, or curved surfaces. These distort the image.
• Scan high-contrast barcodes. Black-on-white UPCs work best.
Visual cue: Look for a focus box or red line moving across the barcode. If it’s frozen, the camera isn’t engaging.
Test With a Known Good Barcode
Rule out app issues by testing with a reliable product.
Try Scanning These Items
• Soda cans (Coca-Cola, Pepsi)
• Cereal boxes (Cheerios, Frosted Flakes)
• Snack bags (Chips Ahoy, Doritos)
These have standardized, high-quality barcodes. If they don’t scan, the issue is with Noom or your device, not the product.
Avoid: Damaged, crumpled, or reflective packaging.
Ensure Internet Connection
Noom requires internet access to match scanned barcodes with its food database.
Verify Connectivity
• Check Wi-Fi or cellular signal strength.
• Try loading a webpage in your browser.
• Switch from Wi-Fi to data (or vice versa) if connection seems slow.
Note: Even if the barcode is read visually, Noom can’t retrieve food details offline. You’ll see “Not Found” without internet.
Use a stable network when scanning new items.
Try Manual Search as a Backup
When scanning fails, use Noom’s search function to log food fast.
How to Manually Add Food
- Tap Log Food.
- Type the product name in the search bar.
- Select the correct item from suggestions.
- Confirm calories and serving size.
- Tap Log.
Speed hack: Use brand plus item (for example, “Kroger Greek Yogurt”) for better matches.
While slower than scanning, this method keeps your log accurate during scanner outages.
Report the Issue to Noom Support
Persistent problems should be reported so Noom can investigate.
What to Include in Your Report
• Device model (for example, iPhone 13, Samsung Galaxy S22)
• OS version (for example, iOS 17.5, Android 14)
• Noom app version (found in app settings)
• Description: “Scanner opens but doesn’t detect barcodes”
• Whether you’ve tried updates, reboots, and permission fixes
Contact Methods
• In-app help center (Profile > Help)
• support@noom.com
• Noom community forums or social media
User impact: More reports increase urgency for Noom to release a fix, especially if tied to a recent update.
Understand Why Scanning Fails
Knowing the root cause helps prevent repeat issues.
Common Causes of Scanner Failure
| Cause | Fix |
|---|---|
| Revoked camera access | Re-enable in settings |
| App bug after update | Update or reinstall |
| Poor lighting or focus | Scan in bright light, hold steady |
| No internet connection | Use Wi-Fi or strong data signal |
| Outdated app version | Install latest from app store |
| Low phone storage | Free up space to improve performance |
| Database missing item | Use manual search instead |
Trend alert: Users of Weight Watchers, CVS, and other wellness apps report similar scanning issues, suggesting broader changes in mobile OS camera policies or third-party scanning tools.
Apple and Android have tightened background camera access, which may affect how apps like Noom initialize the scanner.
Prevent Future Scanner Problems
Stay ahead of issues with these proactive steps.
Maintenance Tips
• Keep Noom updated. Enable auto-updates in your app store.
• Check permissions monthly, especially after OS updates.
• Restart your phone weekly. Clears memory and resets camera drivers.
• Use manual entry occasionally. Reduces reliance on scanning alone.
Pro tip: Save frequently eaten foods to your “Favorites” list in Noom. No scanning needed.
Key Takeaways for Fixing Your Noom Barcode Scanner
-min.png)
When the Noom barcode scanner isn’t working, follow this checklist in order:
- Check camera permissions (iOS/Android)
- Restart Noom and your phone
- Update the Noom app
- Clear app cache (Android)
- Reinstall Noom if needed
- Scan in good lighting with clean barcodes
- Verify internet connection
- Use manual search as backup
- Report issue to Noom support
Most cases resolve with permissions plus restart plus update. Only a small number require reinstallation.
Frequently Asked Questions About Noom Barcode Scanner
Why does my Noom barcode scanner suddenly stop working?
The scanner typically stops working after app updates, OS changes, or when camera permissions get revoked. It can also fail due to poor lighting, weak internet connection, or bugs in outdated app versions.
How do I fix the Noom barcode scanner on my iPhone?
Start by checking camera permissions in Settings > Privacy > Camera > Noom. Toggle it ON if disabled. Then restart the app and your phone. If that doesn’t work, update the app or reinstall it completely.
Does Noom need internet to scan barcodes?
Yes, Noom requires an internet connection to match scanned barcodes with its food database. Even if the camera reads the barcode visually, you won’t get food details without Wi-Fi or cellular data.
What should I do if the scanner won’t detect any barcode?
First, test with a known good barcode like a soda can or cereal box in bright lighting. If it still fails, clear the app cache (Android), update the app, or reinstall it. Check that your phone has sufficient storage and that camera permissions are enabled.
Can I manually log food in Noom when scanning fails?
Yes. Tap Log Food, type the product name in the search bar, and select the correct item from suggestions. This is a reliable backup when the scanner isn’t working.
How do I contact Noom support about scanner issues?
Use the in-app help center (Profile > Help), email support@noom.com, or reach out through Noom’s community forums. Include your device model, OS version, app version, and a description of the problem.
Final Thoughts on Resolving Noom Barcode Scanner Issues
The Noom barcode scanner relies on camera access, app stability, and internet connectivity. When one piece fails, scanning stops. By following these steps, you can quickly diagnose and fix the problem or work around it until Noom releases a permanent update.
Stay consistent with your health goals by using manual logging when needed. Keep your app updated, check permissions regularly, and report persistent issues to Noom support so they can address the underlying causes. With the right troubleshooting approach, you’ll get back to effortless food tracking in no time.