You’ve connected a scanner to your Mac and clicked around, only to find no obvious “Scan” button. You’re not alone. Many Mac users struggle with this task because macOS handles scanning differently than Windows. The good news? Scanning on a Mac is fast, reliable, and built right into the system once you know where to look. Whether you’re digitizing receipts, scanning multi-page contracts, or preserving old photos, macOS offers multiple tools to get the job done seamlessly.
This guide walks you through everything you need to know about how to use scanner on Mac: connecting and setting up any scanner, choosing the best scanning method, configuring resolution and file formats, enabling OCR for searchable text, and troubleshooting common issues. We’ll also show you how to scan without a physical scanner using your iPhone.
Connect Your Scanner to Mac
Before scanning, your Mac must recognize the device. macOS supports most modern scanners out of the box, especially those with AirPrint or Image Capture Protocol compatibility.
Power and Connect Your Scanner
• USB scanners: Plug directly into your Mac using the correct cable. Avoid daisy-chaining through hubs or AirPort base stations.
• Wi-Fi scanners: Ensure both your Mac and scanner are on the same network. Enable AirPrint in your scanner’s settings if available.
• Ethernet scanners: Used in office environments. Must be on the same local network as your Mac.
• Power on first: Always turn on the scanner before connecting or starting your Mac.
Pro Tip: Restart both devices if the scanner does not appear. macOS sometimes delays device recognition after sleep or startup.
Check Scanner Recognition in System Settings
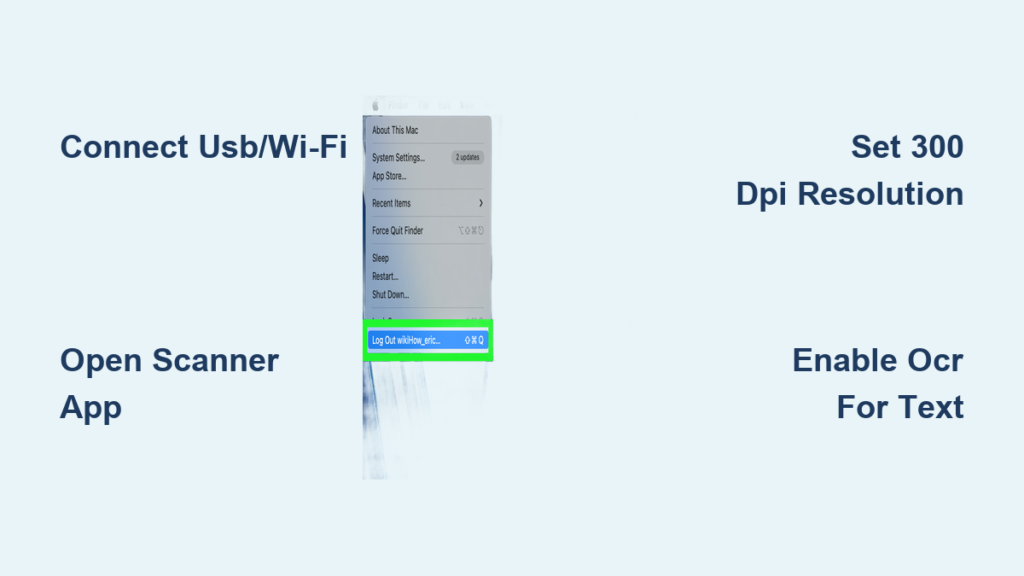
- Click the Apple menu and select System Settings (Ventura and later) or System Preferences (older versions).
- Select Printers & Scanners from the sidebar.
- Wait up to 60 seconds for your scanner to appear in the list.
A green dot means the scanner is online and ready. A red dot labeled “Offline” may just need time, so wait before troubleshooting. If your scanner does not show up, click the + button to manually add it. Select your scanner when it appears in blue, then click Add.
Still not detected? Download the latest driver from your manufacturer’s website. Many newer models work without drivers, but older or advanced units require them.
Access the Scanner on Your Mac
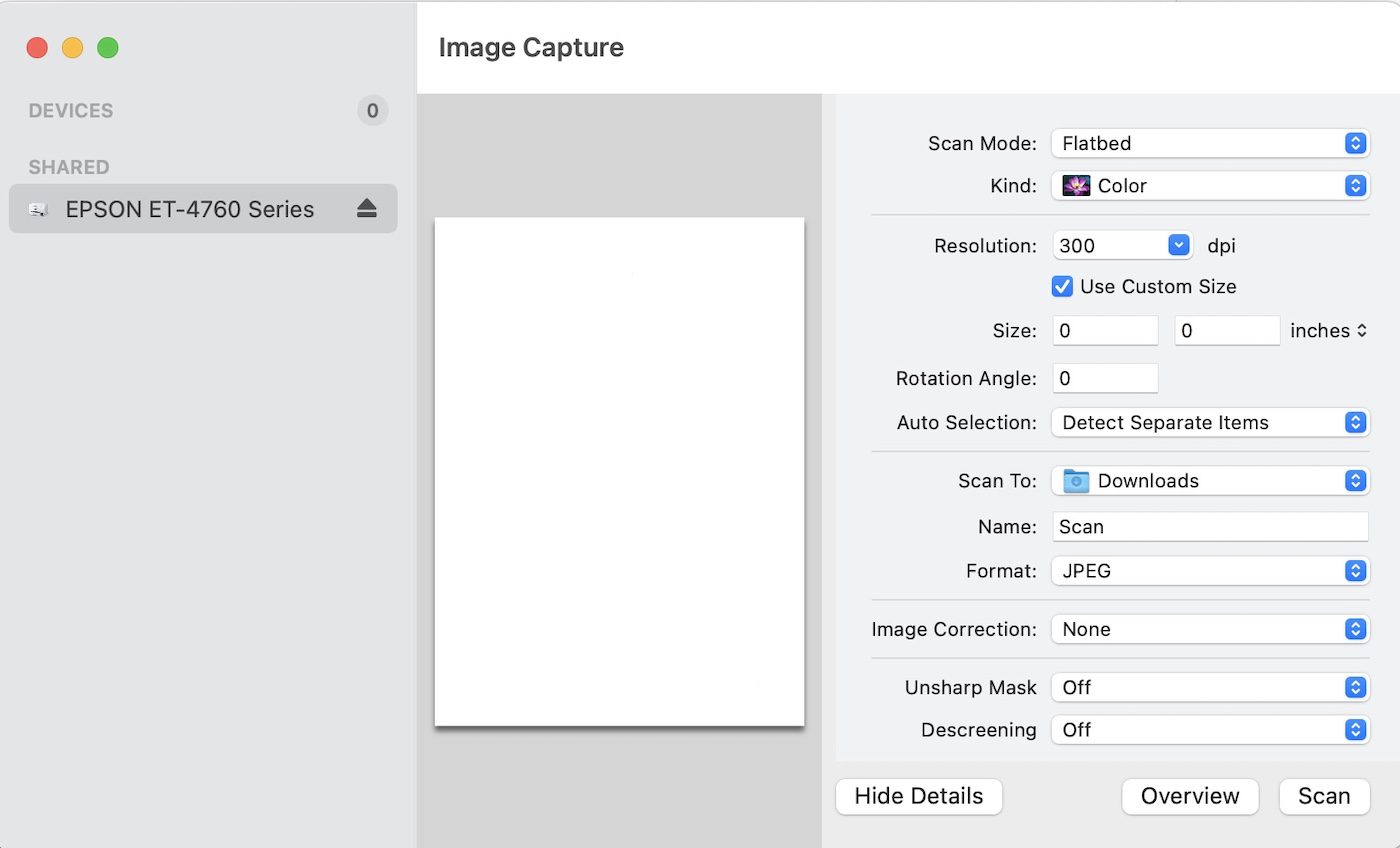
macOS offers three main ways to access your scanner. Each has strengths depending on your use case.
Open Scanner from System Settings
This is the fastest way to start scanning.
- Go to System Settings > Printers & Scanners.
- Select your scanner.
- Click Open Scanner.
The native scanning window opens with basic controls. During use, the scanner icon appears in the Dock. Drag it there permanently for one-click access.
Note: The Open Scanner button only appears if the device supports scanning functions. If missing, install the manufacturer’s software.
Use Image Capture for Full Control
For advanced users, Image Capture is the most powerful built-in tool.
• Automatically detects scanners under Devices
• Supports batch scanning, detection modes, and custom save locations
• Allows manual adjustment of detection boxes when scanning multiple items
• Offers full OCR support when saving as PDF
Open Image Capture from Applications > Utilities or via Spotlight.
Scan via Preview App
Preview is not just for viewing documents. It is also a capable scanning interface.
- Open Preview via Spotlight or Applications.
- Go to File > Import from Scanner.
- Adjust settings and click Scan.
Scans open directly in Preview, where you can crop, annotate, or export. This method is ideal for quick one-off scans.
Warning: If Import from Scanner is grayed out, verify the scanner is selected and online in Printers & Scanners.
Choose Flatbed or Document Feeder Mode
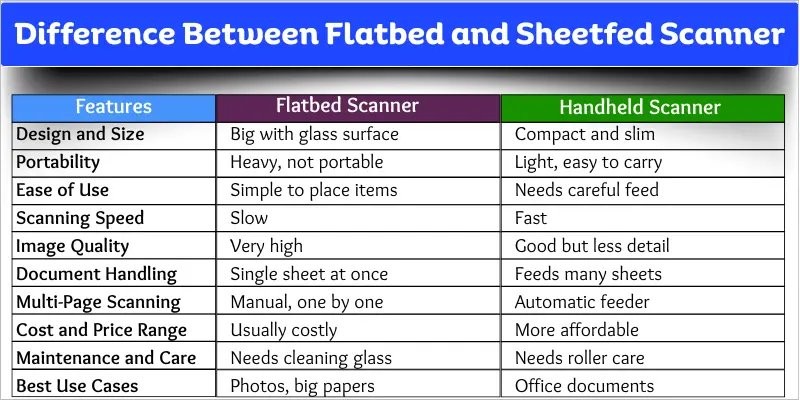
Your choice depends on the document type and volume.
Use Flatbed for Single Items
The flatbed is perfect for photos, books, fragile documents, or items you want to scan face-down on glass.
• Open the lid and place the document face-down, aligning with the corner mark.
• Close the lid gently.
• In the scanner window, deselect Use Document Feeder.
Pro Tip: For multiple items on the glass, leave space between them and enable Detect Separate Images to save each as its own file.
Use Document Feeder for Multi-Page Docs
The automatic document feeder is best for contracts, invoices, and reports.
• Load pages face-up into the feeder tray.
• In the scanner window, select Use Document Feeder.
• Set resolution to 200 to 300 dpi, format to PDF, and enable Combine into Single Document.
Caution: All pages inherit the same settings. Do not mix color and grayscale pages in one batch.
Configure Scan Settings for Quality Results
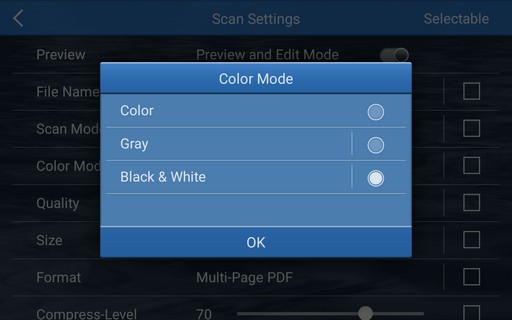
Do not skip the Show Details panel. This is where you control quality, format, and output.
Set Resolution and Color Mode
| Setting | Recommended Use |
|---|---|
| 200 to 300 dpi | Text documents, everyday use |
| 600 dpi or higher | Photos, archival, fine detail |
| Text or Black and White | Fast scans of typed documents |
| Grayscale | Handwritten notes, forms |
| Color | Photos, brochures, colored documents |
Warning: Resolution above 600 dpi increases file size with minimal visual gain for most documents.
Choose the Right File Format
| Format | Best For | Notes |
|---|---|---|
| Documents, contracts | Supports OCR, multi-page, compression | |
| JPEG | Photos, web | Smaller files, lossy compression |
| PNG | Images with transparency | Lossless, larger than JPEG |
| TIFF | Archival, professional use | Largest files, preserves quality |
Enable OCR for Searchable Text
If your scanner supports it, select PDF as output. The OCR option appears automatically. The result is a fully searchable, selectable text document in Preview or Adobe Reader.
No OCR? Use third-party tools like Nitro PDF Pro to edit scanned text directly, or Prizmo for OCR on images in 59 languages.
Scan Documents Using Image Capture
Follow these steps for the best scanning experience.
- Connect and power on your scanner.
- Open System Settings > Printers & Scanners.
- Select your scanner and click Open Scanner.
- Choose Flatbed or Document Feeder.
- Click Show Details.
- Set resolution to 300 dpi, choose Color or Grayscale, select PDF format, and choose your save location.
- Enter a descriptive filename like 2024-09-27_Contract_ClientX.pdf.
- Enable OCR and Combine into Single Document if needed.
- Click Overview to preview.
- Adjust detection box or settings if needed.
- Click Scan.
- Verify the file in your destination folder.
Default save folder: ~/Pictures/Scans/
Use Your iPhone as a Scanner with Continuity Camera
No scanner? Use your iPhone or iPad instead. This feature is called Continuity Camera.
Requirements
• Same Apple ID with two-factor authentication
• Wi-Fi and Bluetooth enabled on both devices
• Devices nearby and unlocked
• Handoff enabled on iPhone: go to Settings > General > AirPlay and Continuity > Handoff
Steps to Scan on iPhone
- Open a compatible app on Mac: Notes, Pages, Preview, Mail, or Finder.
- Place your cursor where you want the scan.
- Choose File > Insert from iPhone/iPad > Scan Documents or right-click and select the same option.
- Your iPhone camera activates automatically.
- Position the document. Your iPhone detects edges and captures.
- Tap Keep or retake.
- The scan appears instantly on your Mac as a PDF.
Bonus: Tap Add Page to scan multiple pages in one session. This method is perfect for receipts, single-page contracts, or quick scans on the go.
Fix Common Scanner Problems on Mac
Even with proper setup, issues happen. Here is how to solve them fast.
Scanner Not Detected
• Cause: Connection issue or missing driver
• Fix: Restart your Mac and scanner. Reconnect USB. Install the manufacturer driver.
Open Scanner Button Missing
• Cause: Driver not installed or scanner not recognized
• Fix: Install official software like HP Smart. Check the Printers & Scanners list.
Blank or Black Scan
• Cause: Custom size set to 0 by 0 or lid not fully closed
• Fix: Set the correct paper size. Ensure the document is flat and the lid is down.
Poor Image Quality
• Cause: Low resolution or incorrect color mode
• Fix: Increase to 300 dpi. Adjust brightness and contrast in Show Details.
OCR Not Working
• Cause: Feature not supported by scanner or OS
• Fix: Use Nitro PDF Pro or Prizmo for OCR on any scan.
Wi-Fi Scanner Not Found
• Cause: Network mismatch
• Fix: Ensure both devices are on the same Wi-Fi. Use the manufacturer app to pair.
Pro Tip: Disable third-party firewall software temporarily. It can block scanner discovery.
Key Takeaways for Scanning on Mac
Scanning on a Mac is simpler than most users think once you know where to look. With the right setup, you can digitize documents in seconds, create searchable PDFs, and even use your iPhone as a scanner.
Three tools cover most needs. Use the native Scanner utility in System Settings for quick scans. Choose Image Capture for professional work with batch scanning and full control. Use Preview for simple everyday tasks with built-in editing.
For the best results, always set resolution to 300 dpi for documents and 600 dpi for photos. Save as PDF for text documents to enable OCR and searchability. Keep your scanner glass clean with a microfiber cloth.
Whether you are a student, professional, or home user, macOS provides everything you need for fast, high-quality scanning. Keep this guide handy, and you will never struggle to scan again.
Frequently Asked Questions About Scanner on Mac
Why does my scanner not show up on my Mac?
Your scanner may not appear if it is not connected properly, lacks drivers, or is not powered on. Go to System Settings > Printers & Scanners and wait up to 60 seconds. If it still does not appear, click the + button to add it manually or install the manufacturer’s driver.
Can I use my iPhone to scan documents on Mac?
Yes. Use Continuity Camera. Both devices must be on the same Wi-Fi with Bluetooth enabled. Open a compatible app like Notes or Preview, go to File > Insert from iPhone/iPad > Scan Documents, and your iPhone camera will activate automatically.
What is the best resolution for scanning documents?
For text documents, use 200 to 300 dpi. For photos or archival work, use 600 dpi or higher. Higher resolutions create larger files with minimal visual improvement for standard documents.
How do I enable OCR on my Mac scans?
Select PDF as the output format in the scanner settings. OCR appears automatically if your scanner supports it. If not available, use third-party tools like Nitro PDF Pro or Prizmo to add OCR to any scan.
Where do scanned files go on Mac?
The default save location is ~/Pictures/Scans/. You can change this in Image Capture under Import To, or set a custom folder in the scanner settings before scanning.
Why is my scan blank or black?
This usually happens when the paper size is set to 0 by 0 or the scanner lid is not fully closed. Check your paper size settings and ensure the document is properly placed on the flatbed with the lid closed.