You’ve just unboxed your new Blusmart laminator, ready to protect important documents, classroom handouts, or craft projects. But if you’re staring at the machine, unsure where to start, you’re not alone. Many users struggle with feed timing, overheating, or wrinkled results, especially on the first try. Knowing how to use a Blusmart laminator correctly makes all the difference between smooth, bubble-free lamination and a jammed, wasted pouch.
This guide walks you through every step, from setup to troubleshooting, so you can get professional results every time. You’ll learn how to choose the right pouch, set the correct temperature, avoid common mistakes, and maintain your machine for long term use. By the end, you’ll feel confident handling any lamination project at home, school, or the office.
Set Up Your Blusmart Laminator Before First Use

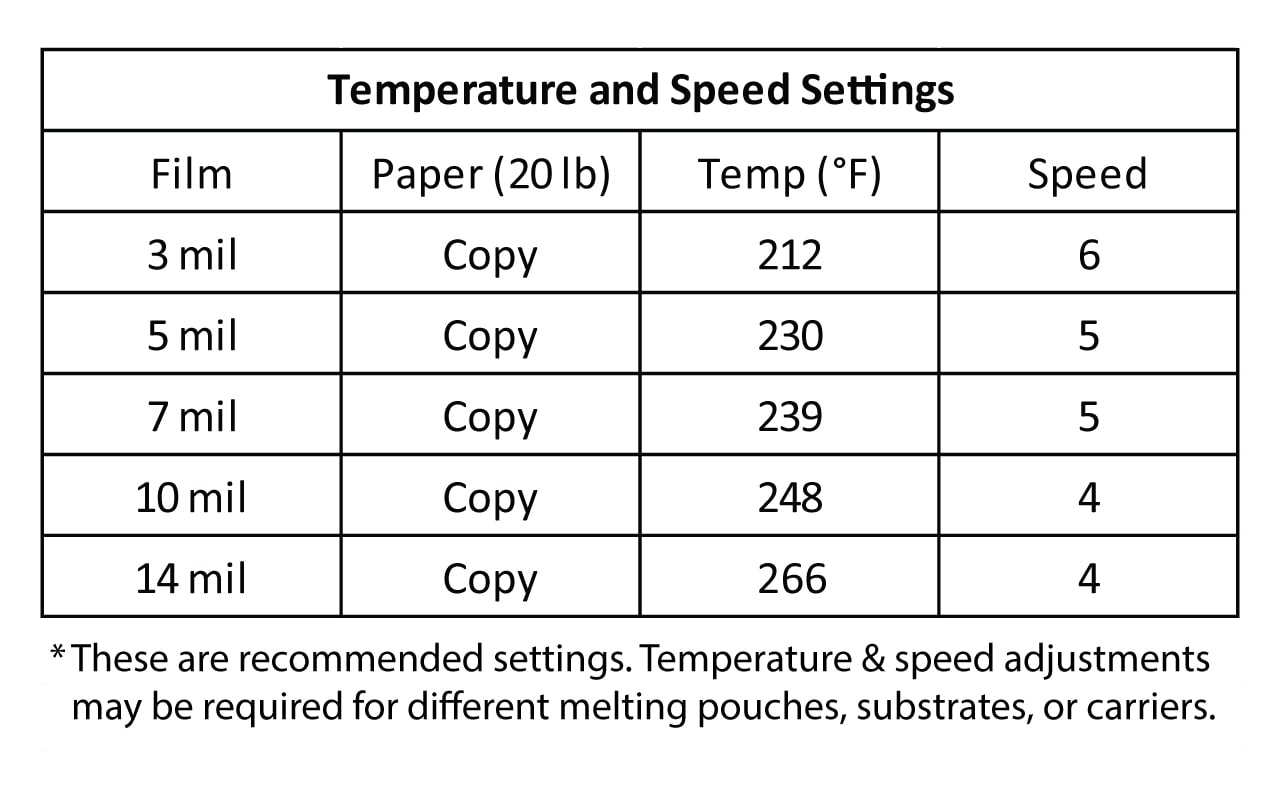
Proper setup ensures safety and optimal performance on your very first run. The Blusmart laminator requires a few minutes to warm up and stabilize. Skipping this step is one of the top causes of failed lamination.
Plug In and Power On Safely
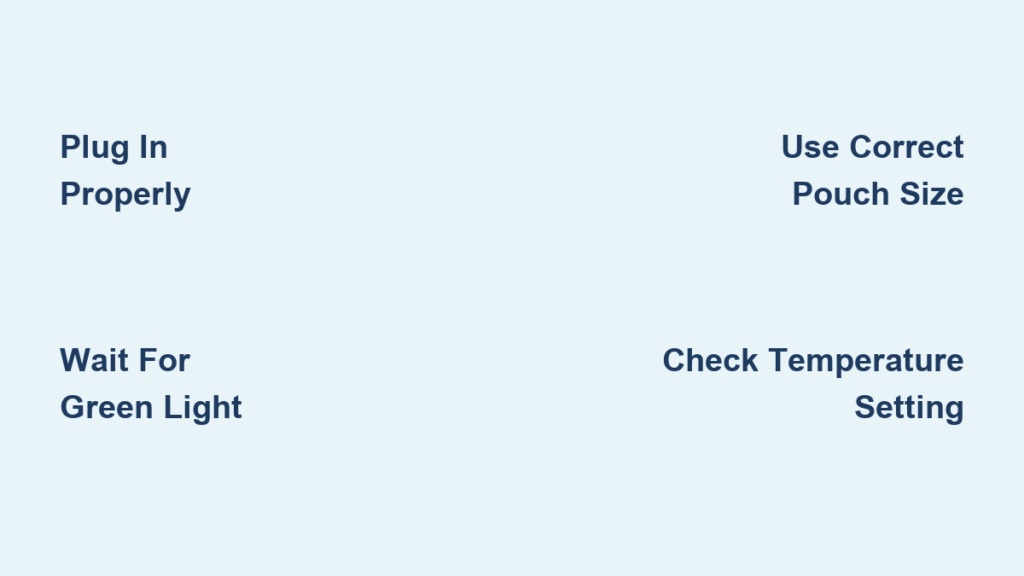
Place the laminator on a flat, heat resistant surface away from water or clutter. Plug it into a grounded outlet and press the power button. Most Blusmart models have an indicator light that turns red during heating and green when ready. Wait until the green “Ready” light appears. This typically takes 3 to 5 minutes.
Select the Correct